
The tarp in bushcraft: your versatile shelter for all adventures
In the world of bushcraft and survival, few pieces of equipment rival the versatility and efficiency of a tarp. This simple sheet of fabric, often overlooked by beginners in favor of more reassuring tents, is nevertheless one of the most powerful tools in the arsenal of the experienced bushcrafter. Lightweight, compact, and infinitely adaptable, the tarp transcends the limits of traditional shelter to become a true Swiss Army knife of outdoor accommodation. Understanding its subtleties and mastering its configurations opens up a world of possibilities that will forever transform your approach to outdoor adventure.

What exactly is a tarp?
The tarp, a shortened version of "tarpaulin" in English, refers to a rectangular or square waterproof sheet designed specifically to create temporary shelters. Contrary to popular belief, not all tarps are created equal. Models dedicated to bushcraft are distinguished by their technical materials, reinforced anchor points, and dimensions designed to optimize shelter configurations.
The most common materials include silicone-coated nylon, known for its lightness and tear resistance, and coated polyester, which prioritizes durability and UV resistance. Some manufacturers also offer versions in cotton canvas, appreciated for their breathability and fire resistance, although they are heavier. Standard dimensions generally range from 3x3 meters for compact models to 4x4 meters for family configurations.
Each tarp incorporates metal eyelets or textile loops strategically positioned around its perimeter and sometimes in the center. These anchoring points are the heart of the system, allowing for secure fastening and optimal tension of the fabric. The quality of these elements directly determines the longevity and reliability of your shelter.
The decisive advantages of the tarp
The superiority of a tarp over traditional shelters lies in its very philosophy: maximum efficiency with minimum equipment. Its featherweight, often less than 500 grams for a 3x3 meter model, revolutionizes the approach to backpacking on long hikes. This lightness is accompanied by minimal bulk, freeing up valuable space in your pack.
Versatility is its second major advantage. Where a tent imposes a unique configuration, the tarp adapts to all your needs: shelter from the rain, sun protection, windbreak, camping kitchen roof, rainwater collector, or even an emergency stretcher. This adaptability allows you to precisely respond to the conditions encountered rather than accepting the compromises of a fixed solution.
The economic aspect also deserves to be highlighted. A professional-quality tarp generally costs three times less than an equivalent tent in terms of covered area. This substantial saving allows you to invest in other equipment or simply reduce the overall budget of your bushcraft equipment.
Master the basic configurations
Learning to use a tarp starts with mastering three fundamental configurations that cover 90% of the situations encountered.
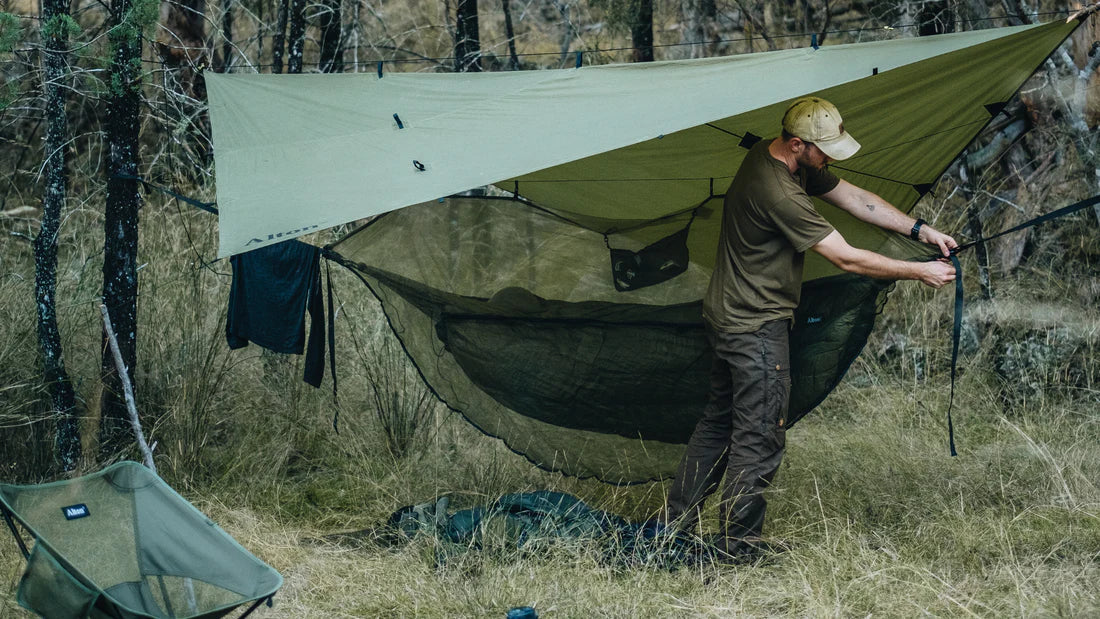
- The "lean-to" configuration is the simplest and quickest setup. It involves stretching the tarp at an angle between two trees or using trekking poles, creating a shelter open on one side. This configuration is excellent for protection from driving rain or sun while maintaining good ventilation.
- The "A" or Canadian configuration represents the logical evolution of the lean-to. By folding a portion of the tarp to the ground and stretching it into a triangle shape, you obtain a shelter closed on three sides that offers maximum protection from the elements. This configuration proves particularly effective in strong winds or during persistent rain.
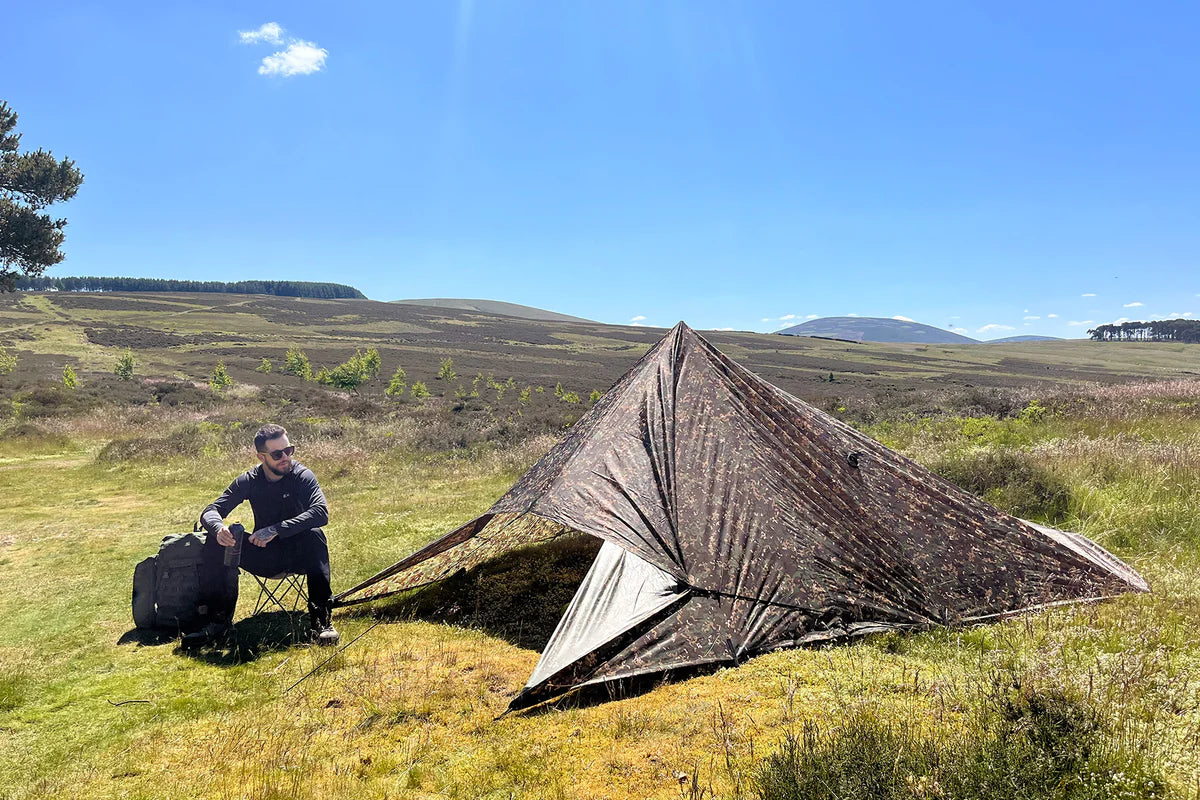
- The "diamond" or rhombus setup utilizes the tarp's geometry to create a spacious central shelter. By suspending the tarp by its center from a branch or a vertically planted pole, and then pulling its four corners towards the ground, you obtain a pyramidal shelter that is remarkably wind-resistant while maximizing interior space.
The essential knots for your success
Mastering the use of a tarp absolutely requires knowing a few specialized knots that guarantee the strength and speed of setting up your shelters. The reef knot reigns supreme for attaching your tarp to trees or stakes. Its ability to tighten under tension while remaining adjustable makes it an indispensable ally for any installation.
The Prusik knot revolutionizes your approach to guy ropes. This sliding knot allows you to adjust the tension of your ropes even after installation, a valuable asset when weather conditions change. Its ability to lock under load while remaining manually repositionable makes it a precision tool for fine-tuning your installations.
For the corners of the tarp, the bowline knot or chair knot creates fixed loops perfectly suited for passing through pegs. Its exceptional strength and ease of dismantling, even after being subjected to high tension, make it an essential part of the experienced tarp user's kit.

Choosing the right complementary equipment
The success of your tarp installation depends as much on its accessories as on the tarp itself. 550 paracord is the standard of reference for the main guy lines. Its 250 kg resistance and multiple additional uses justify its universal popularity. Allow for a minimum of 20 meters of length to cover all the needs of a standard setup.
Tent pegs deserve special attention. Forged aluminum or titanium models offer the best weight-strength compromise for normal ground. For hard or rocky ground, invest in some forged steel pegs that will penetrate the toughest obstacles. V-shaped models offer superior grip in loose soil.
Don't forget the elastic tensioners or "shock cords" that automatically maintain tension despite fabric expansion and temperature variations. These small accessories transform a rigid assembly into a dynamic system that adapts to changing conditions.
Advanced techniques for experts
Once you've mastered the basics, explore more sophisticated configurations that reveal the tarp's full potential. The "flying diamond" setup combines a raised shelter with a ground extension, creating a protected living space particularly appreciated during extended bivouacs. This configuration requires two well-positioned trees but offers exceptional comfort.
The "tarp tipi" technique uses a single central pole to create a spacious, wind-resistant conical shelter. This configuration excels in open spaces where trees are scarce. Its quick setup and stability make it a preferred solution for emergency encampments.
Experts are also developing hybrid setups that combine multiple tarps or integrate hammocks and tarpaulins into complex systems. These advanced configurations transform your campsite into a true base of operations suitable for extended stays in complete autonomy.

Practical advice for a smooth start.
Learning to use a tarp requires practice before tackling real-world conditions. First, practice in your garden or a nearby park to master the basic techniques without time pressure. Test different configurations in good weather before facing them in rain or strong wind.
Start with a tarp of medium dimensions, around 3x3 meters, which offers a good balance between versatility and ease of handling. Models that are too small limit your setup options, while large sizes unnecessarily complicate the learning process for a beginner.
Invest in a brightly colored cord for your guy lines: it's easy to spot in the vegetation and prevents unfortunate nighttime falls. This simple precaution significantly improves the safety of your campsite.
The art of living under the tarp
Mastering the tarp means embracing an outdoor philosophy based on adaptability and communion with the elements. Unlike a tent, which isolates you from your environment, the tarp keeps you in constant contact with nature while protecting you from its excesses. This proximity develops your sensitivity to weather conditions and refines your understanding of natural phenomena.
A tarp is much more than just a shelter: it's your gateway to authentic bushcraft, where technique serves experience. Each setup becomes a creative challenge, each configuration a response adapted to the unique circumstances of the moment. This dynamic approach transforms each outing into an opportunity for learning and improvement.